
art is such a beautiful thing.
there are no rules. it's expressive, creative, imaginary... i could go on and on.
art has always been at the center of my heart, where my true passion lies.
i've always dreamed of teaching art and recently that dream came true.

my dear friend and founder of brooklyn homeschoolers presented me with the opportunity of teaching art at her new hub for homeschoolers in the heart of brooklyn. what she is building for the homeschooling community is absolutely incredible and i am so honored to be apart of her dream and vision for this community.
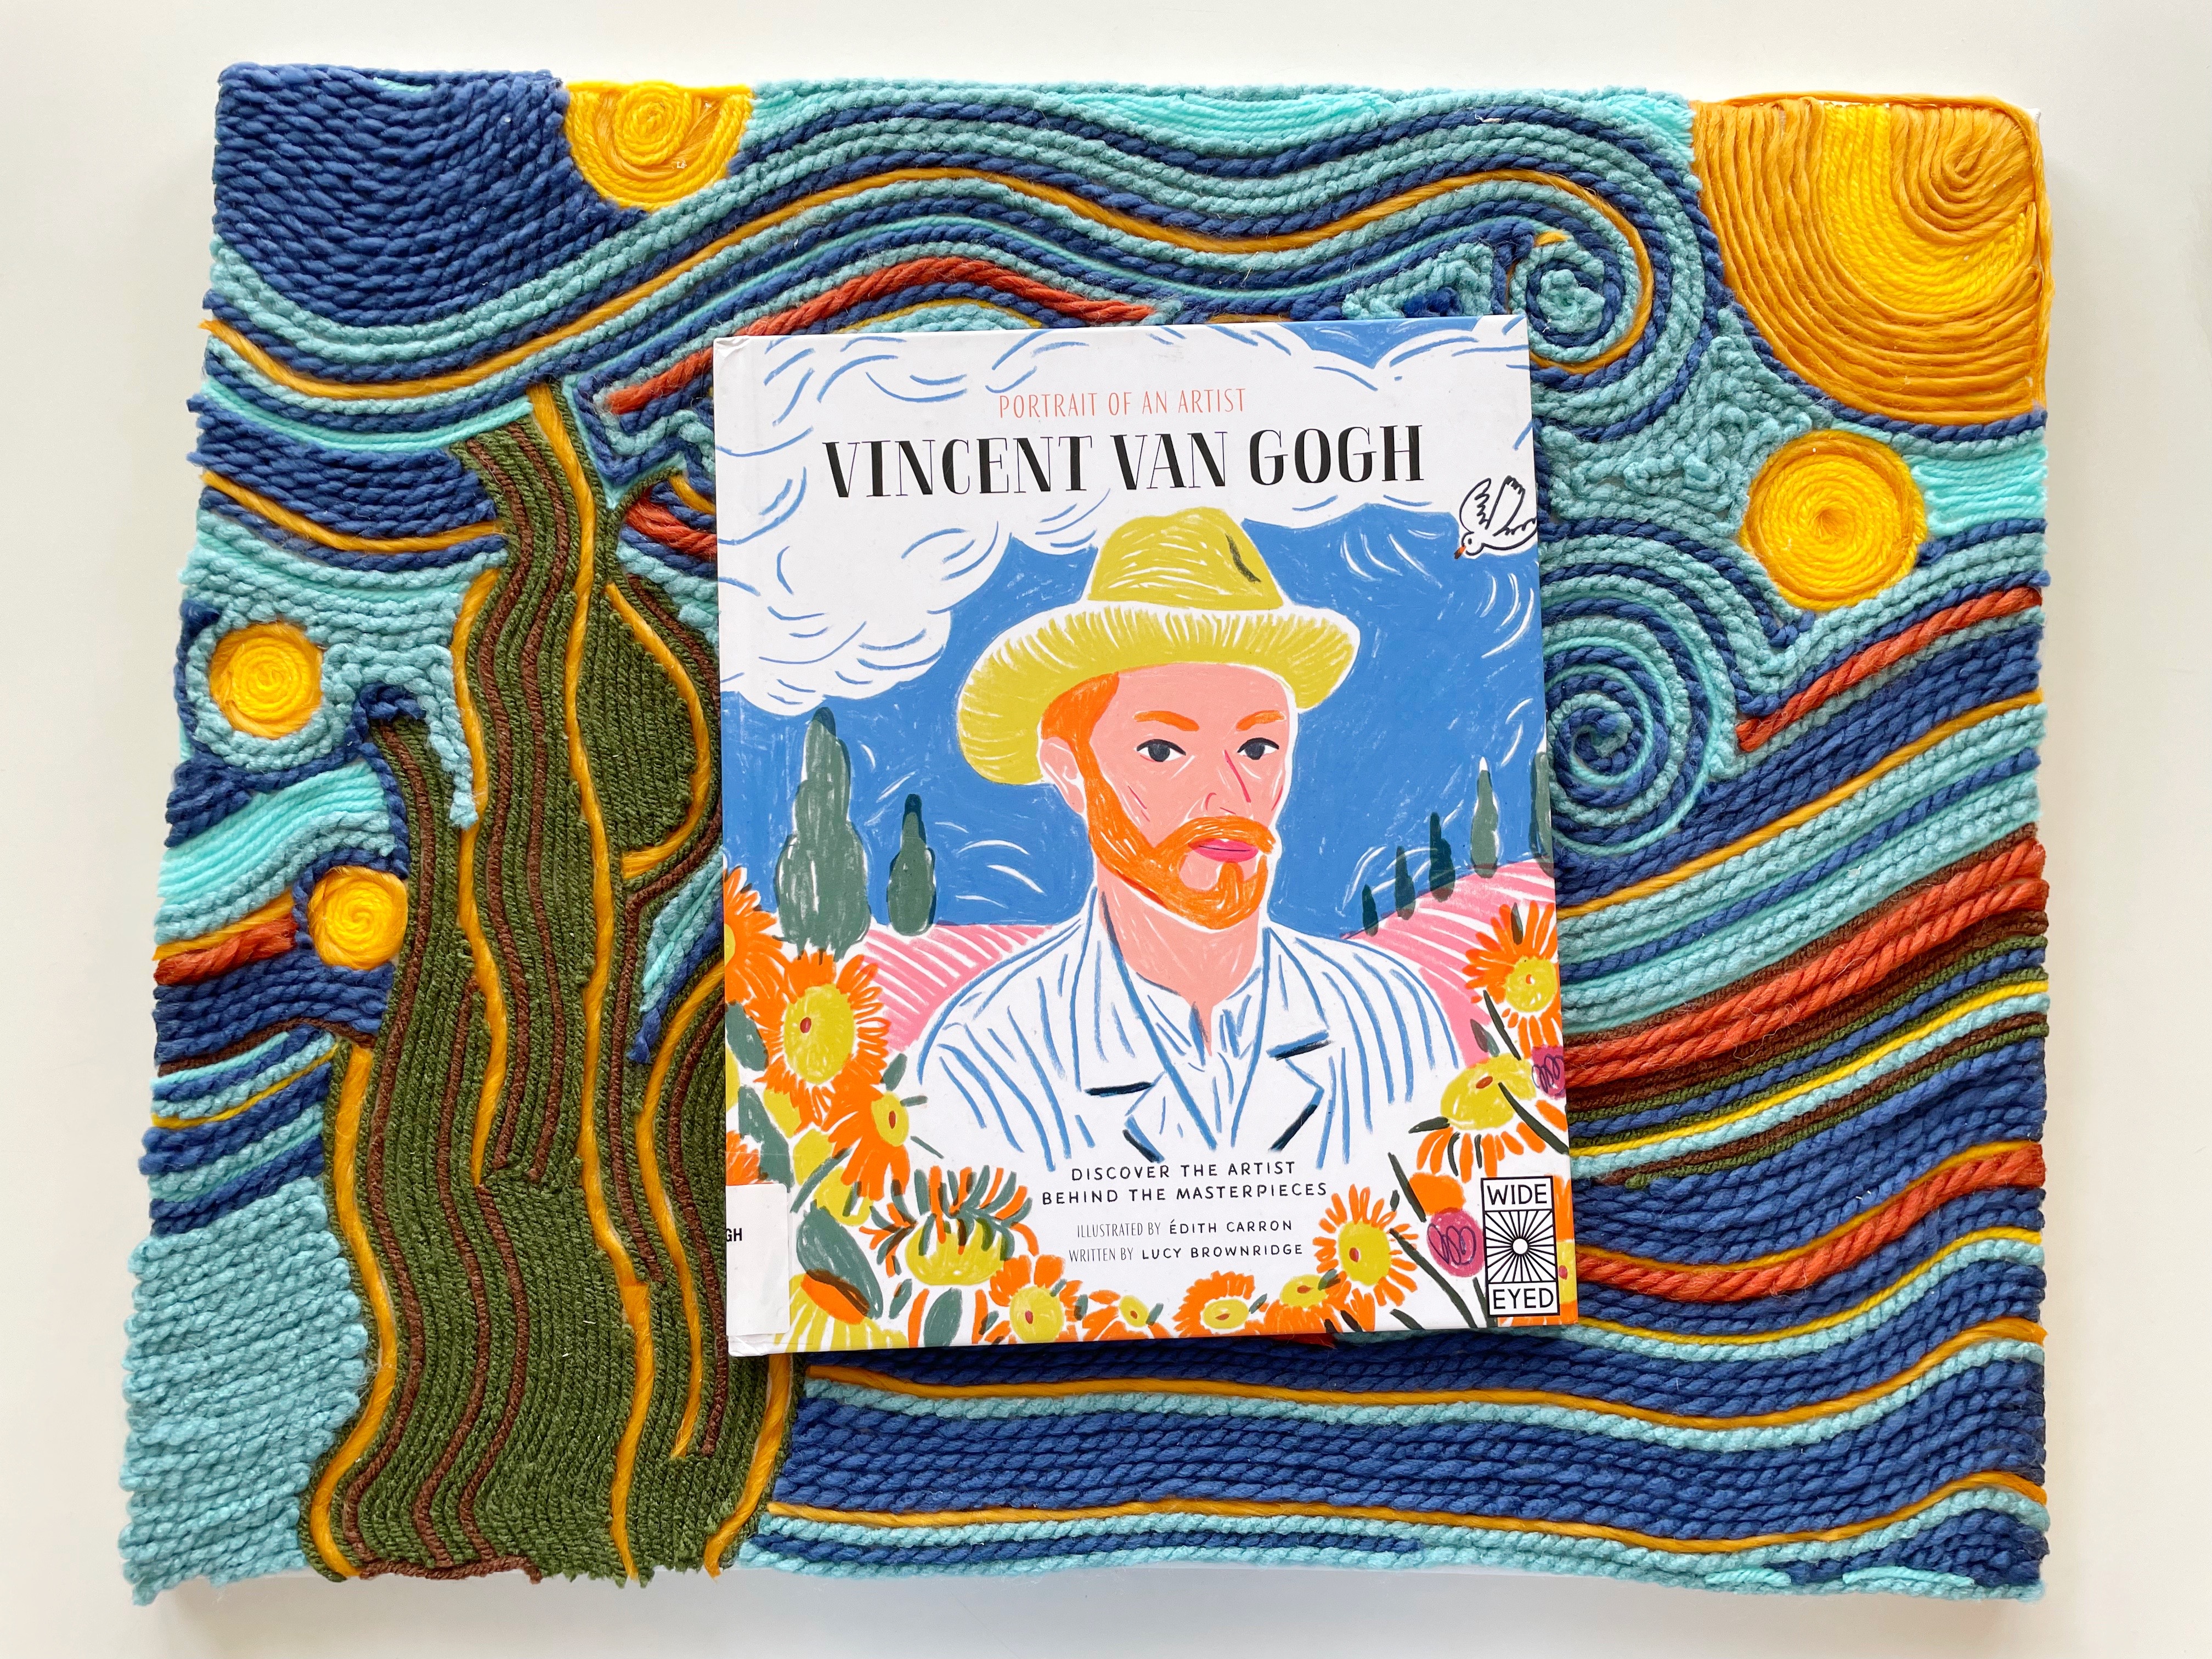
for our first art class we chose to study the artist vincent van gogh and i decided to go with his beautiful piece "the starry night".
recreating this piece by painting it would have been a great project but i wanted to go with something "outside the box" so i decided to recreate the piece using yarn!
creating this piece is pretty simple and today i'll be sharing the steps on how to make this masterpiece at home!

supply list:
- canvas or thick mixed media paper
- elmers glue
- pencil
- scissors
- yarn (choose whatever colors you envision, there is no right or wrong here)
- picture of "the starry night" by vincent van gogh
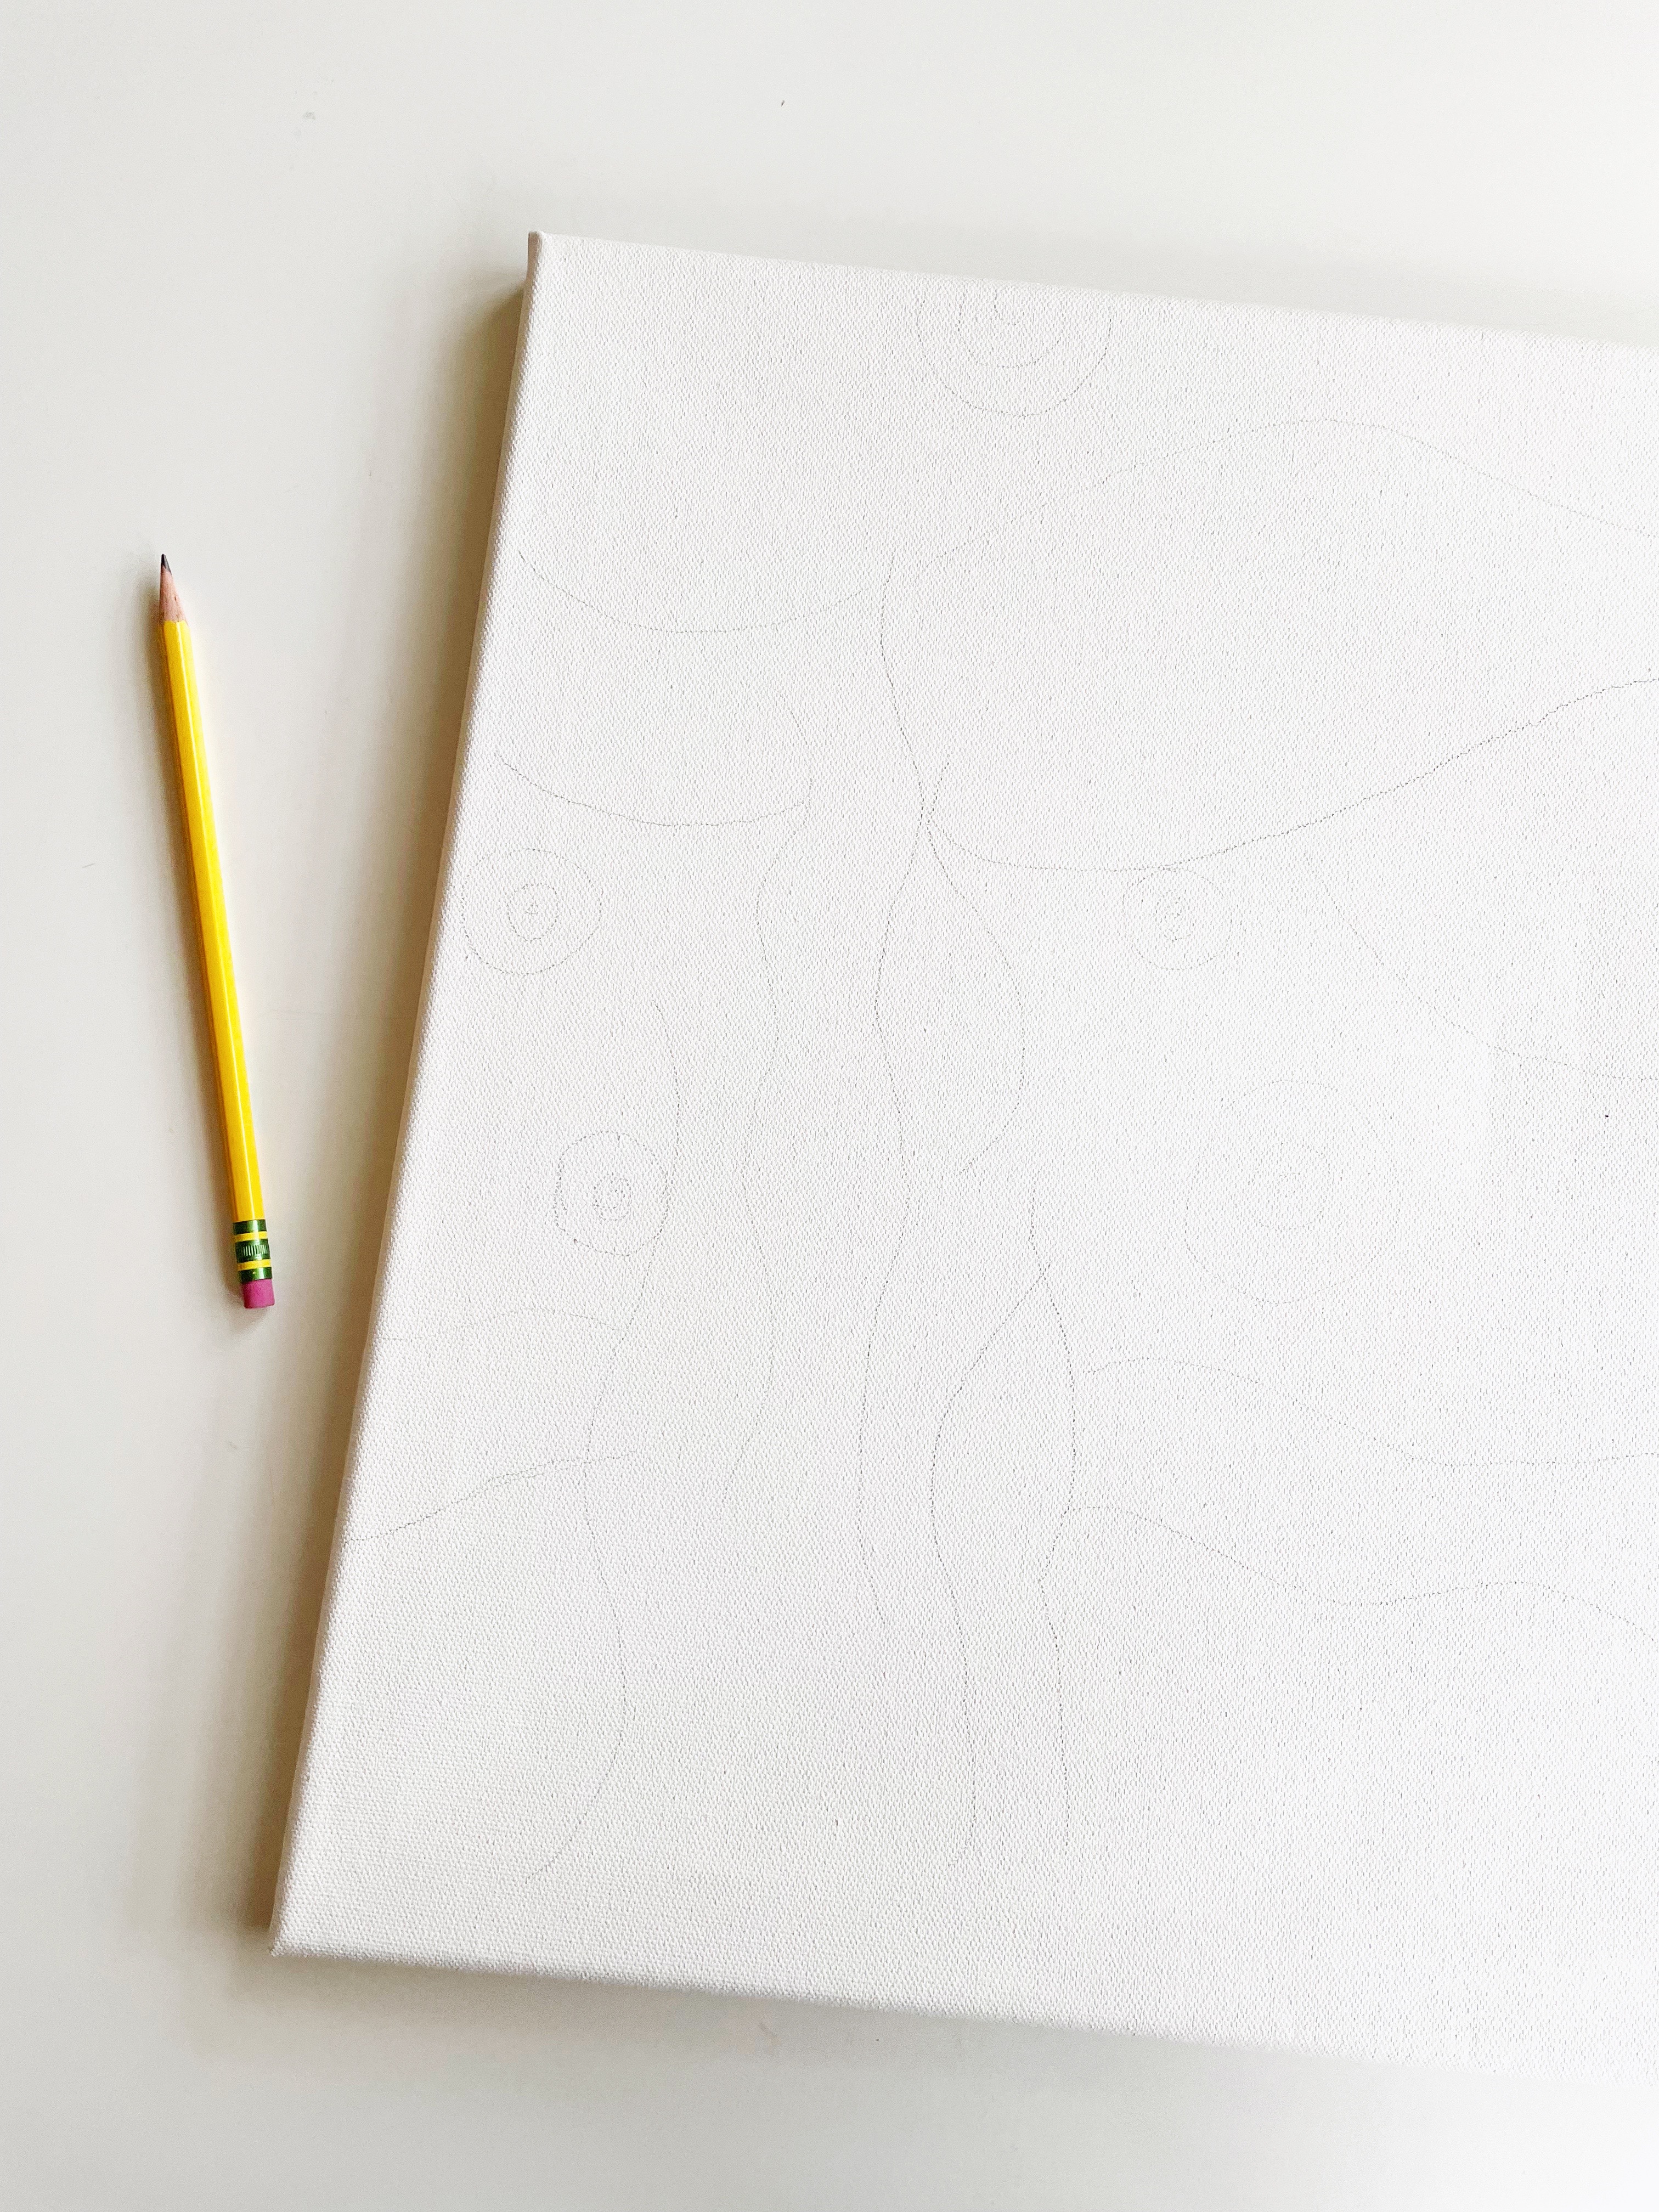
step 1 -
once you've gathered all of your supplies the first thing you'll want to do is sketch out all of the main focal points onto your canvas or paper.
this step does not need precision. this is a rough sketch of the "largest" pieces or the areas that stand out to you the most on "the starry night".
for this step, i chose to sketch the moon, the mountains, the cypress tree (looks like a dark flame), a couple stars and the largest wind swirls in the sky.

step 2 -
after your sketch is complete you're ready to begin applying glue.
for this step, i recommend tracing an area of your sketch with your elmers glue (either using the bottle itself or by using a thin paint brush to apply the glue). be sure to add a decent amount of glue so that they yarn adheres well.

step 3 -
once the glue is on, you'll begin adding your yarn. for this step you can choose to pre-cut a piece of yarn or just pull a long piece from the yarn bunch and gently pat it onto the glue. once you get to the end of the area where you applied the glue, trim the yarn with your scissors. you may need to hold your yarn down for a few seconds until the glue adheres to the yarn.
you will be repeating steps 2 and 3 until all of your sketched out areas are covered with yarn.
after your focal points are covered in yarn, you'll begin working your way outward (seen in the photo above) slowly filling up all of the white space on your canvas or paper until it is completely filled up.
as you continue adding the layers of yarn it almost begins to feel as if you are working on a maze or puzzle because you'll be adding the yarn layer upon layer and wrapping it around the pieces of yarn that are already glued down.
after your canvas or paper is completed, let the project dry overnight.

this really is a fun project.
take your time with it though. don't rush through it.
remember there are no rules when making art, be creative and let your mind flow freely.
happy crafting!
_______________________________
p.s - i've got a fun announcement about something i've been working on, that i'll be sharing on my blog tomorrow! so be sure to check back then!!
0 Comments